-40%
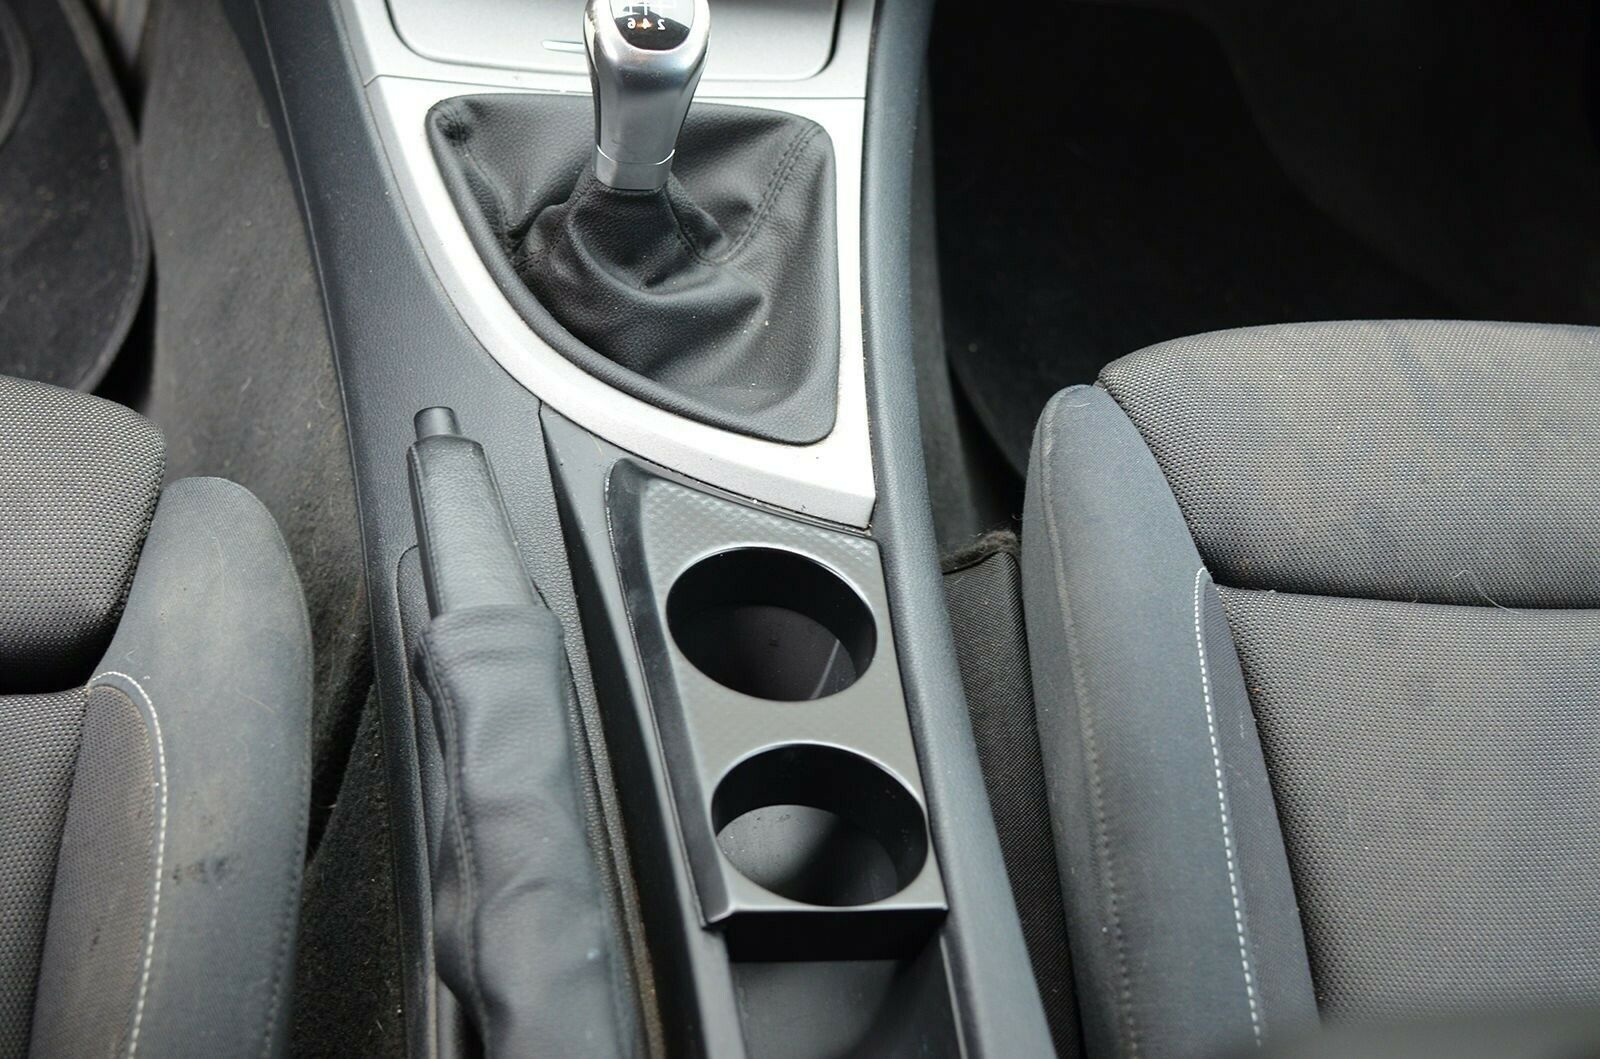
BMW 1 Series Cup Holder (LHD) - 116 116i 118 118i 118d 120 120i E87 E81 E82 E88
€ 13.2
- Description
- Size Guide
Description
BMW 1 Series Cup Holder V3.0Please read the full listing before committing to a purchase
What is it?
This cup holder is a little project I've started from home after purchasing a 3D-Printer.
As an owner of a BMW 1 series, I?ve been looking for a suitable cup holder for quite some time. The only thing that came close to what I wanted was to replace the entire centre console. Even for a 2nd hand one it?s £100 for the part, and you then have all the difficulties of actually replacing the console. I couldn?t justify all of this just for the sake of a cup holder so decided to make my own instead.
I was so pleased with the outcome I thought other people might like to benefit from my idea too.
Update
New and improved version now holds a greater variety of drinks containers, is more stable than the previous version, and also has a rubber gasket to stop it scratching the original console.
As was the case with the original design, this model still gives you access to the storage space in the centre console, and packs away neatly into the glove box when you don?t want to use it.
As a thank you to customers who purchased the original model I?m delighted to be able to offer a 50% discount in the sale price.
What?s included?
This listing is for the sale of a DIY cup holder which makes an excellent gift for those who like to be hands-on and have a go at things themselves. Similar to an Airfix model, the cup holder will need to be removed from its sprue, tidied up, glued together and painted. Instructions for which are given below.
Can I buy a painted version?
Yes. You can purchase a finished version and I?ll put in all the work to sand it down and paint it myself at the additional cost of £30. Please use the ?buy it now? button above and then send me a message to let me know that this is your preferred option.
What car does it fit?
Suitable for any BMW 1 series.
How long will it take to arrive?
This depends if you?re buying the DIY-kit or the finished version. The DIY-Kit will usually be posted the next day (First class).
The painted versions though are made to order so in a worst case scenario it could take me up to two weeks to make (owing to the drying time of the paint), although it will usually take me about 1 week. If you?re lucky, I?ll already have a painted one made and will be able to post right away. If time is a concern then please get in touch.
Customisation
As I say, this is something that I've designed and developed myself so if you'd like to customise it in any way, such as a different colour, to fit a specific cup, or something completely different, please get in touch.
Terms & Conditions
I'm sorry to add the small print but feel I should make it very clear that this is just something that I made for myself in the absence of a better solution and thought other people might like it too. I've used it extensively without problem and have had very positive feedback. Obviously though, if you purchase this item then you use it at your own risk and acknowledge that I can't be held responsible for any injury, damage or loss that occurs from its use.
Buy with Confidence
As you can see from my profile, I have 100% positive feedback. Not only this, but all of my recent seller feedback is for this cup holder. Don?t just take it from me that it?s a good product, look at the reviews from other ebay buyers.
Instructions
Download as PDF
What you will need
One cup holder (included)
Rubber Gasket (included)
Household Superglue (not included)
Wet and Dry Sandpaper ranging from 120 to 1200 grit (not included)
Plastic Filler Primer (not included)
Black paint (not included)
A set of Hobby Files (not included)
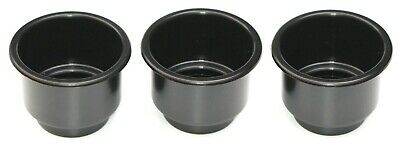
When you receive your cup holder, this is how it will look (Click for full-size version. Colours may vary):
The first thing you'll want to do is remove the supports that were used during the printing process. Using just your hands, the supports should snap off easily in one piece:
Using a sharp knife, remove any imperfections which have been left over from the printing process. It's helpful here to also use a hobby file.
Turn the cup holder over, and using a sharp knife, remove the lip around the bottom edge of the cup holder.
Although not essential, giving the underside of the cup holder a quick tidy up with a hobby file will improve the overall quality
If you wanted to, you could use the cup holder at this point. All you'd have to do is glue the rubber gasket to the bottom of your cup holder (This is to prevent it from slipping and scratching your car).
Assuming you want a more professional finish, the next step is to sand the cup holder down. You'll need an assorted set of (wet and dry) sand paper that ranges from about 120 grit to 1200 grit. Take the 120 grit paper and give the cup holder a really good rub down. I like to do it in the kitchen sink. Don't worry about plastic going down the sink hole as it's biodegradable. The more work you put in at this stage, the easier the rest of the process will be. It is possible to do this initial rub down with an electric sander, but keep in mind that the cup holder is hollow with about a 1mm thick wall. Anything industrial will go straight through it, but if you're careful, a hobbyist electric sander can be helpful here.
What you're aiming to do is remove all of the raised edges that occur during the printing process. You'll likely be left with some small dents in the surface. Don't try to sand these out, instead we'll fill them in the next step.
To fill up the imperfections, use a plastic filler primer spray paint. Follow the instructions on the can and coat the cup holder in primer. Don't worry about runs in the paint at this stage as we'll rub most of the primer back off again.
As per the instructions on the can, leave the primer to harden for 24 hours and then rub down with 240 grit paper. Doing this in the sink and rinsing as you go is helpful. You're aiming to take as much of the primer off as possible, so all that's left is a small amount filling up the imperfections.
Paint the cup holder with plastic filler primer and again, leave it for 24 hours to dry. You'll then sand the cup holder down again, with 400 grit paper. This time just giving it a mild rub down all over, and extra rubbing on any problem areas.
Once again, paint the cup holder with plastic filler primer and leave it for 24 hours to dry. Finally, give it a gentle rub down with 800 grit paper. By now it should be starting to feel like glass.
On a very hot/cold day, the cup holder will expand/shrink, and you're also going to be rubbing things against it quite often, so having a chip and scratch resistant paint makes sense. Coat the cup holder in paint and leave to dry for 24 hours.
Once it's dry, turn it over and paint the other side, then leave to dry for 24 hours.
Usually, what I find here is that during the painting process, particles (or even bits of my workbench) have become stuck to the top of the cup holder. Give the top a gentle rub down with 1200 grit paper to remove any imperfections and give it a really smooth finish. Once that's done, I give the top one last coat of paint then leave it for 48 hours to fully harden.
Finally, glue on the rubber part (using any household super glue) to the underside of the cup holder and it's finished.
And there you have it, a finished cup holder. At this point, you might be tempted to use the cup holder but before you do, make sure you read the instructions for the paint you've used as some paints need 2 weeks to fully harden and become scratch resistant.


